Modeling complex shoe
-
Hello,
Can anyone provide some help/pointers on how you would model an object like this?

Any tips are appreciated!
Thank you,
-Mia -
Hi Mia,
Please review the file below.
CV4_2025_drs_25_MOws_01.c4dFirst, I shaped the surface that a shoe would have. Your model will be better, I'm sure.
Then, I set the Snapping to Polygon.

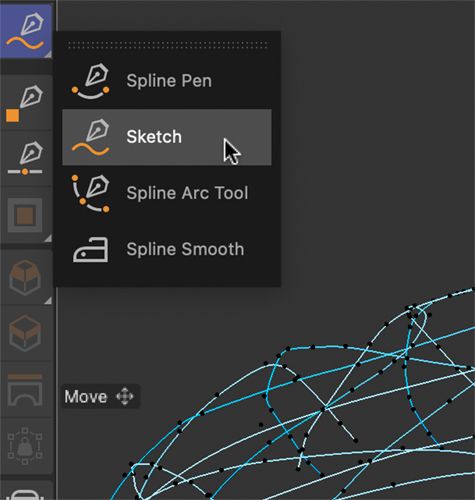
The Spline drawing tool in Sketch requires a clear idea of the kind of "pattern" you want to draw. Mind took a few minutes; a production level will undoubtedly take longer.
The shoe is set up with Loft and Splines, while Splines with an 'X' in the name allow for wider and freer drawing. The bottom part can then be selected (using Side view and Rectangle Selection in Point mode to trim or delete the spline).
Please note that as long as the Spline object is active, new Sketch strokes can be added.
From there, it might be enough to use the Sweep, but I added the Volume Builder/Mesher on top of that.
Please explore the Dilate/Erode and the Smooth options in the Mesh builder.

I hope that helps.
Enjoy your project.
-
P.S.: There might be other options, but I found them less intuitive for using the Surface Deformer and setting up a frame that defines the space, drawing it in a flat frame to project a predefined pattern, e.g., from Illustrator.
-
@Dr-Sassi Thank you for your helpful tips Dr. Sassi.
I gave option #1 a try yesterday but found that it was difficult to achieve 'clean-looking' splines with the Spline drawing tool in Sketch.
Since there was a lack of reference images on Google of the shoe, I had an idea to use GPT to generate some references of the shoe pattern with clean lines.
I'd like to hear more about your tips on using the Surface Deformer to set up a frame that defines a specific space and drawing it from a flat frame to project a pattern. I do have access to Adobe Illustrator to make the pattern myself from these generated references.


-
Hi Mia,
The Sketch creates a lot of points. This may produce a result that you find to be unclean. Like in Illustrator, the cleanest curves are created with the lowest possible number of points.
The first step is to reduce the number of points and set the Spline to B-spline.
Here is an example that keeps your Sketch but allows you to reduce the points for a destination (Result) Spline.
The MoSpline needs to be set to MoSpline active: Attribute Manager> Object (tab)> Spline.
You have to be a spline into the Destination (Main Menu) Create> Spline> Empty Spline, or just a copy of any spline, as the data will be created/overwritten in that Spline. Set that Spline to B-Spline.Placing the Sketch Spline (Source): In the MoSpline Spline Tab>Source Spline
In the Spline Tab
In that tab, there is a Generation Mode; set this to Count (and perhaps check what produces the best results.)
In the same tab, you will find the Count Parameter; set the amount until the Spline is smooth.Please note that the process will reduce the size of the curves, So there are limits.
Here is an example, press play or use the time slider.
CV4_2025_drs_25_MOws_11.c4dAll the best
-
@Dr-Sassi Thanks for the additional tips. I managed to reduce the spline points down using your technique and after applying the volume builder + and changing SDF smooth to about 90% strength, I got smoother lines!

I made some materials with a texture node that includes the pattern references I generated earlier in order to do a Camera Mapping Projection of the pattern for easier tracing (though I did have to whip out the pen tablet to draw them by hand).

Thanks for all the help! Feel free to mark the thread answered.
")