UV unwrap a simple bottle
-
Having a hard time unwrapping this simple bottle. However I try it it still results in distortion right where the two labels would go.
Thanks in advance!
https://www.icloud.com/iclouddrive/0bdaFEDtZOoY26gJd5T3nzz-Q#bottle
-
Hi Smckenzie,
Thanks for the file, and for using iCloud.
The key is to separate the areas of the labels from the rest. This bottle can't be "unwrapped" into a single flat item.
The labels will be curved and need to be printed in that way, as well as cut to fit on the bottle.Here is a short step-by-step. Please let me know if you need a different way.
The cuts are defined with Edge Selection.
The Frontal View is set.
Then the Relax Mode with the Edge Tag in use is applied. These limited islands are required so neighboring polygons don't pull on the mesh, allowing it to be flattened.
The resulting UV islands are then scaled up, and the ones not needed scaled down.
The ones needed are selected and used to create (UV Layout interface) Main Menu > Layer > Create UV Layer, which will create a new layer for the texture image. I used a square image format here to simplify the process.
This texture file needs a layered output format. PSD works, for example.
In Photoshop, set the text and then use the UV Layer to transform the text so it is aligned with the UV polygons.
I would save this file with a new name into the tex folder of the project, UV layer off and merged, to keep it compact. The PSD working file is saved differently.
To see the texture in the UV layout, the Paint Layout > Materials needs to be visited. Click on the red X.
The material can be limited to the selection, and perhaps an alpha channel to define the border is advised.I'm personally not at all a fan of transparency with PNG files for various reasons. Precision and color correction would be the main reasons.
Example
https://projectfiles.maxon.net/Cineversity_Forum_Support/2025_PROJECTS_DRS/20251020_CV4_2026_drs_25_UVlb_02.zip
All the best
-
Ok, thanks for that, I'll take a look. Originally I had tried to wrap Text Geo onto the bottle via Spline Wrap deformer but I couldn't get all letters to sit flush with the bottle.
-
Thanks for the reply, smckenzie.
To use the Spline Wrap for text, extract the splines from the top and bottom edges of the field. These splines can then be used in the Spline Wrap deformer as the "Spline" and "Rail" inputs.
Yes, that setup needs adjustment—the switch from "To" to "From" is a good starting point.
Next, go to Object > Bounding Box and click the Fix Bounding Box option.
The XYZ parameters define the position of the bounding box, while the other set of parameters controls its size. Adjust these values by dialing in smaller or larger numbers. For finer control, use the Alt/Option key with scrub mode to tweak the positioning and scale of the text as needed.
Example:
CV4_2026_drs_25_MOsw_01.c4d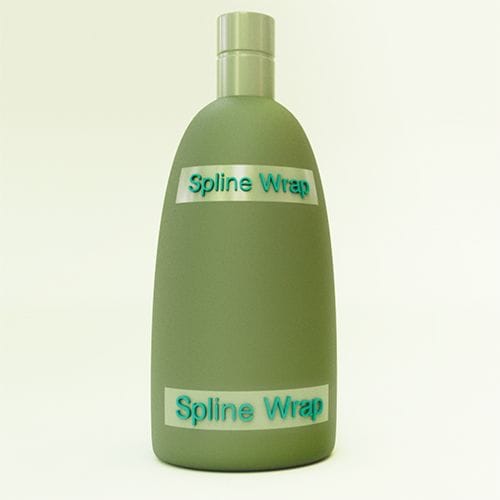
Enjoy!
-
This worked much better. In the end I used the splines from a Sub-D version of the mesh the geo sat much better against the bottle. Thanks.
-
Thanks for sharing your experience, smckenzie.
Sounds good!
My best wishes for your Project