UV unwrap of complex object
-
How would I go about UV unwrapping a complex CAD file like this in C4D? I haven't had unwrap something this complex before.
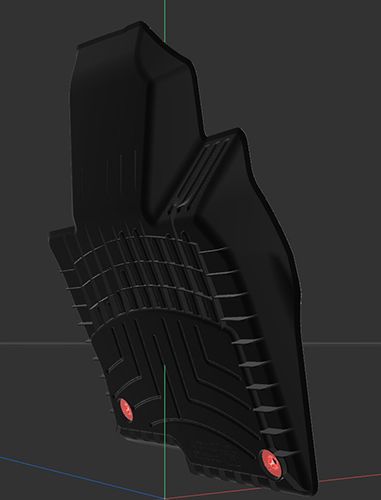
Thanks!
-
Hi BiranP,
I hope I do not sound complicated here, but you give very little to go on. UVs can be set up differently when the final result is known. There is no best practice when the target is not clear. Let me explain: There are "rips" in your model. If they need to be in the flow of the texture seamlessly with the more flat "base," then distortion will happen.
If the main idea is to get an image-like logo on it, how would that be created in real life, sprayed, Stenciled, or…? Those things direct the solution.
You could just project the logo to any UV mesh in Paint, as long as the many islands created are evenly spaced, which requires setting many areas apart.As usual, Images do not tell me a lot. This could be as simple as using one of the methods in the image.
In short: What is your target of the unwrapping? This would be needed to know.
This series might not answer your questions:
https://cineversity.com/vidplaylist/hard_surface_model_uv_unwrapping/This could involve finding some seams and defining the UV Islands, or perhaps just using the Pack method for the overall surface and projecting the logo or text with simple projection. Again, I have very little to go on here.
One of the core problems is illustrated in the file below: How to unwrap this slight extrusion while keeping a 2D texture in flow.
I assume the part can't be shared (If so, it might be too large as an Attachment. (I open only Dropbox, Google, Adobe, Apple, and Wetransfer cloud services based filed, security-based, sorry)
I hope that is the first step to finding a solution for you.
Cheers
-
Sorry for the confusion. We are going to be using this for a 3D viewer and I need to export out uv unwrapped textures for the glb file. The top of the model has a continuous texture over it and the bottom is smooth.
-
Hi BrianP,
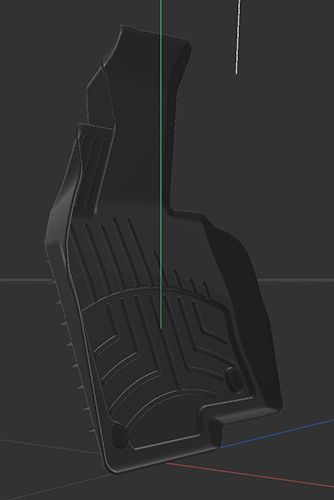
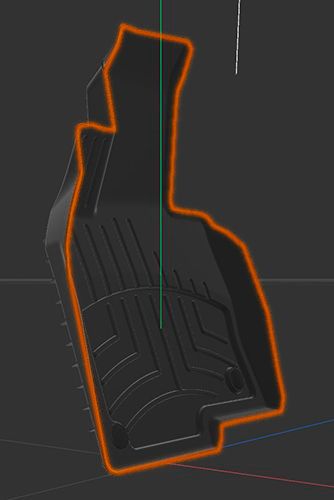
Based on your post above, the top and bottom parts (while I have no model here) might need to have an edge selection along the line I have drawn in the image.
This edge selection might be along the edge of the mold. For this object, the mold was split into two main parts. With no details in the texture, the bottom part can be scaled smaller to have enough room for the detailed top part. Online viewing works best when the data is small.
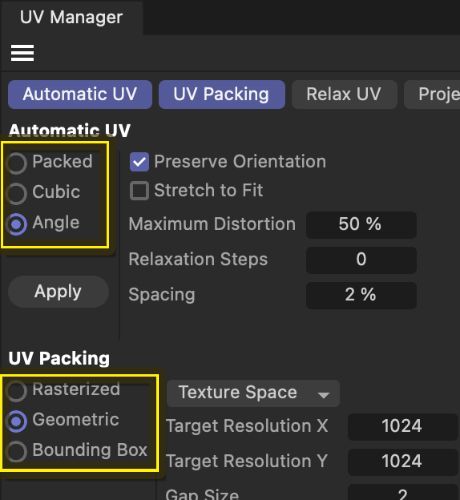
With this edge loop, the relaxing options are better suited to work towards the model's needs. Some pins help keep it from distorting too much.There are two options in the Relax UV process:
LSCM (Least Squares Conformal Maps) or ABS (Angle Based Flattening)Please have a look here for a step by step instruction:
https://help.maxon.net/c4d/2024/en-us/Default.htm#html/11658.html
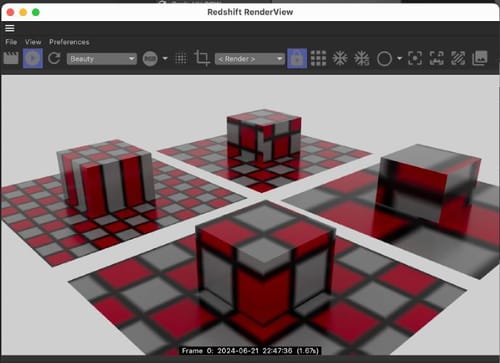
Scroll down.Which one of the two to choose? After each iteration, I would take a UV checkerboard image and see how it looks (How to do that is in the link below. The key to the textured area should be a projection that produces an equal texture on any part, which is often not 100% possible.
Think of wrapping an orange with a single piece of paper. Yes, that is pretty much the work of two thousand years trying to unwrap the earth to a flat map. I have a book filled with attempts to do that (Flattening the Earth, by John P. Snyder). I share that, as it often feels frustrating not to get a perfect result, this book shows that there are limits to this game.
The bottom part, so far I understand it, needs no relaxed procedure; it could be unwrapped in any way and scaled-down, which means focusing on the top part and evaluating based on a checkerboard pattern
https://help.maxon.net/c4d/2024/en-us/Default.htm#html/UV_SETTINGS-UV_SETTINGS_GROUP_BACK.html?TocPath=BodyPaint%25C2%25A03D%257CGetting%2520to%2520Know%257CTexture%2520View%257CViewport%2520menu%257CUV%2520Settings%257C_____3I hope that helps.
My best wishes for your project