Hey Dr. Sassi
I finally was able to have something working and after some 20h rendering something to show. https://www.instagram.com/p/DNqDY0zCxFZ/
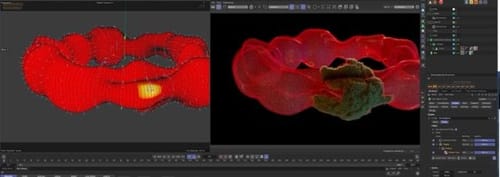
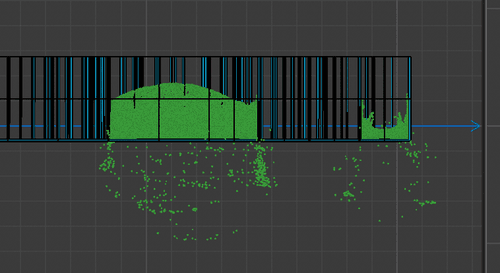
It was quite a pain. Yours worked, mine not. Till I found out that the collider does not like this one Object containing the 10th of buckets. So after I merged all this objects together, I started over by splitting them.
I'm not so happy with the camera motion but there was for me no way to be able to see the whole with particles at more than a few FPS. My M1 Ultra is not the fastest:-/
Cu in another Q&A
erwin
") better , thank you.
better , thank you.